Introduction
Easter is a time of celebration and tradition, one of which is the boiling of eggs. However, this seemingly simple task can often result in cracked shells and less-than-perfect eggs. This article will guide you through the process of boiling Easter eggs without cracking them.
The Importance of Fresh Eggs
Firstly, it’s important to note that the freshness of the egg plays a significant role in preventing cracks. Fresh eggs have a stronger shell and are less likely to crack during the boiling process. So, always try to use the freshest eggs possible.
The Perfect Boiling Technique
The technique used to boil the eggs is crucial. Start by placing the eggs in a single layer at the bottom of a pot. Add enough water to cover the eggs by about an inch. Slowly bring the water to a boil over medium heat. Once the water is boiling, reduce the heat to low and let the eggs simmer for about 9-12 minutes.
The Ice Bath
After boiling, it’s essential to cool the eggs quickly to prevent further cooking and potential cracking. This is where the ice bath comes in. Prepare an ice bath by filling a large bowl with ice and water. As soon as the eggs are done boiling, transfer them to the ice bath and let them cool for at least 15 minutes.
Handling the Eggs
Another factor that can lead to cracked eggs is rough handling. Be gentle when placing the eggs in the pot and when transferring them to the ice bath. Any sudden movements or bumps can cause the shells to crack.
How to Boil Easter Eggs for Dyeing
Here’s a unique guide on how to prepare Easter eggs for dyeing:
Step 1: Choosing Your Eggs
Begin with hard-boiled eggs. To hard-boil eggs, place them in a pot filled with cold water.
Step 2: The Boiling Process
Heat the water until it reaches a boil, then switch off the heat and allow the eggs to sit in the hot water for 10-12 minutes. It’s important to gently lower the eggs into the bottom of the pan using a utensil like a slotted spoon. Dropping an egg in can cause it to crack. Also, maintain the water at a steady simmer. If it’s boiling vigorously, the eggs may bump into each other and crack.
Step 3: Cooling Down
After the eggs have simmered, drain the hot water and cool the eggs in cold water before dyeing them. This rapid cooling helps to halt further cooking and reduces the risk of cracking.
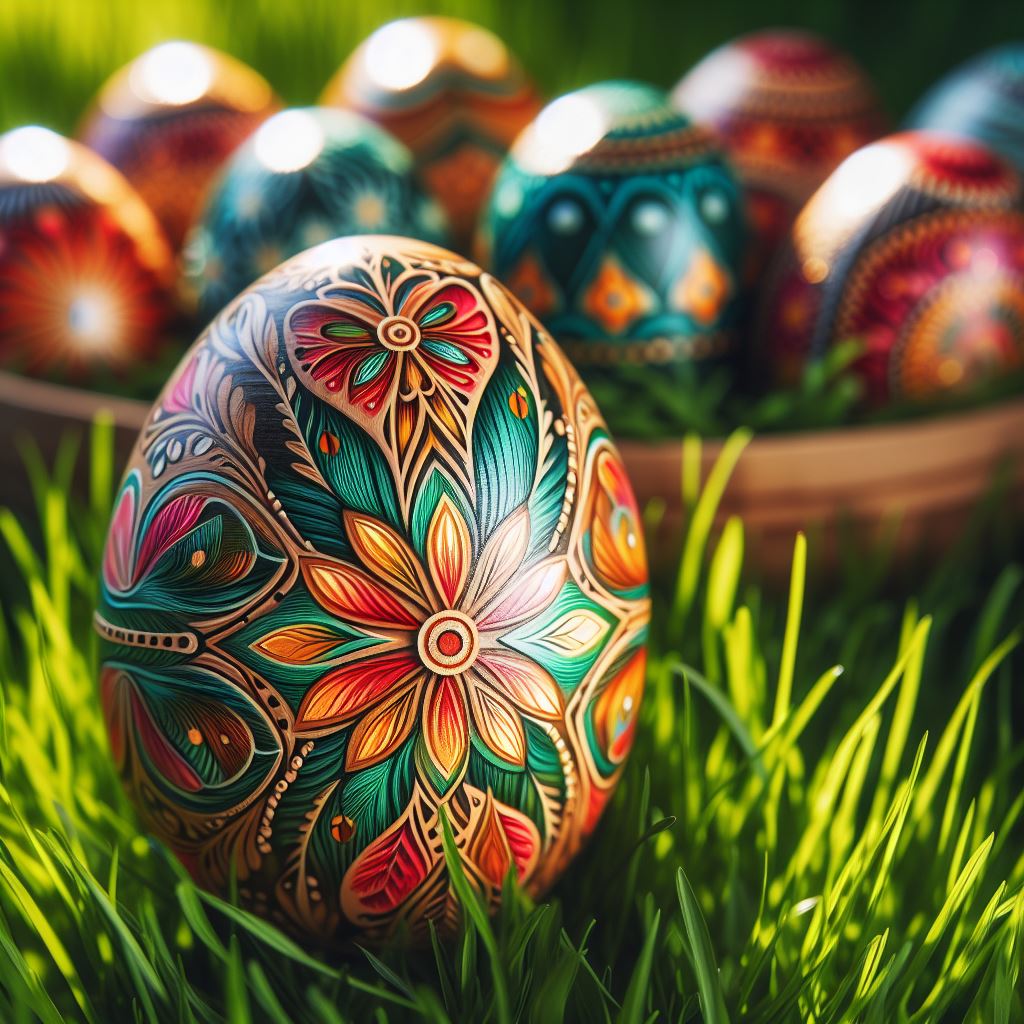
Step 4: Ready for Dyeing
Your eggs are now ready to be dyed. Start with eggs that are cold or at room temperature and immerse them in a mixture of vinegar and food coloring. The longer the eggs remain in the mixture, the deeper the color will be.
Remember, dyed Easter eggs are safe to eat if they meet the following conditions: The eggs are dyed using food-safe dye or natural dye. The eggs haven’t been left out of the fridge for more than 2 hours (or more than 1 hour if the temperature is above 90°F). When stored in the fridge, hard-boiled eggs can last for up to one week.
FAQs
Q: Why do my eggs crack when I boil them?
A: Eggs can crack during boiling if they are not handled gently or if they are not cooled quickly after boiling.
Q: How can I prevent my eggs from cracking?
A: Use fresh eggs, boil them gently, and cool them quickly in an ice bath to prevent cracking.
Q: How long should I boil my eggs for?
A: For hard-boiled eggs, simmer them for about 9-12 minutes.